When processing new incidents, you can use the Batch Print feature to print a group of incidents at one time. You can only use the Batch Print feature for New Request status incidents.
How to Add Incidents to a Batch
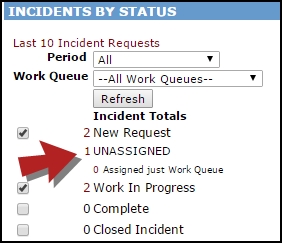
- In the Incidents By Status section of your Incident homepage, you will see a list of Incident Totals.
- Click on the number next to Unassigned. These are the incidents that have been assigned to you for processing.
- This brings you to a processing screen where you will see information for the first incident in the list of Unassigned incidents.
- Check the box next to Check here if you want to use Batch Print feature.
- The screen will refresh and give you a list of Batch Numbers created in the last 30 days. You can select one of these batches to add to or you can click the Create New Batch link. *Note: Many clients create a new batch every day. You will want to create a new batch rather than adding new incidents to a batch that has already been printed.

- If you need to process a different incident than the one that appears on the screen, use the Unprocessed New Requests drop down box to select another request description.
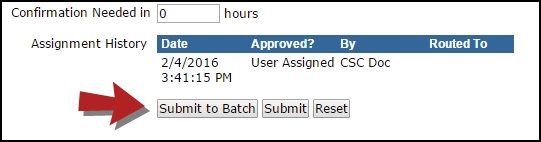
- After you have reviewed and assigned the incident, click Submit to Batch at the bottom of the screen. The information will be saved and the incident will be added to the batch. The screen will refresh to show the next incident to be processed.
Printing an Incident Batch
- When you are finished processing your incidents, hover your mouse over the Shortcuts menu and click the Print Incident Batch link.
- Click the printer icon next to the batch number you want to print. A pop-up window will appear where you can select how the incidents in the batch will be sorted (Incident ID, Problem Type, Location, or Assigned To).

- Click the Print Batch link. This will bring up a print preview screen where you can send the batch of incidents to your printer.
